The following article will describe an easy solution to export iMovie to WMV: We can not directly save iMovie as WMV, but we can convert the already saved and exported non-WMV iMovie to WMV with iMovie to WMV converter. Bigasoft WMV Converter is just the right one.
As the professional iMovie to WMV Converter, Bigasoft WMV Converter can easily convert the exported iMovie video whatever it is in MOV, DV, HDV, MPEG-4, M4V, 3GP and etc to WMV format. Then it is just easy to play iMovie on Windows Media Player, PS3, Zune, Zune 2, Archos, Creative Zen, Xbox 360, Dell Players, HP iPAD, Gphone, BlackBerry, and Palm Pre and so on. And it has both Windows version and Mac version; therefore, it is convenient for you to convert iMovie to WMV on Windows or Mac machine. Moreover, this powerful iMovie to WMV converter also enables to convert iMovie to AVI, MPG, WebM, ASF, FLV, MKV, VOB, RM, MOV, DV and more.
Step by Step Guide on How to Convert the Exported non-WMV iMovie to WMV
The following is a step by step guide on how to convert iMovie to WMV with the help of Bigasoft WMV ConverterMake Preparation: Run Bigasoft WMV Converter
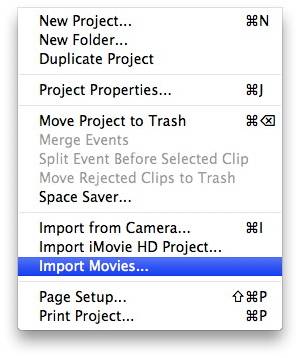
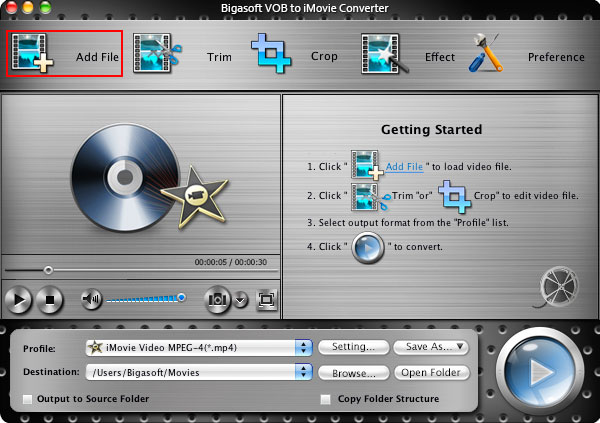
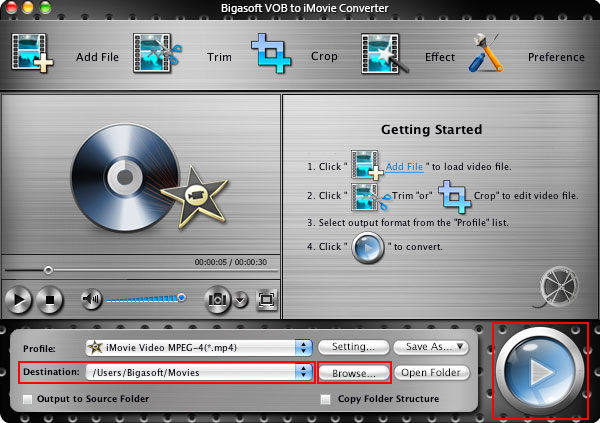
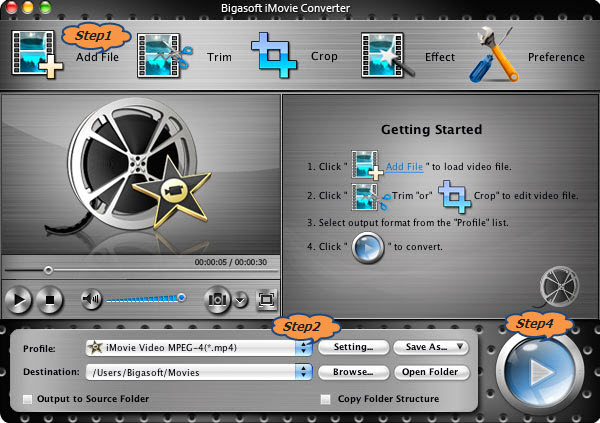
Free download the professional iMovie to WMV Converter -Bigasoft WMV Converter (Windows Version, Mac Version), install and launch it.Step 1 Add the exported non-WMV iMovie file
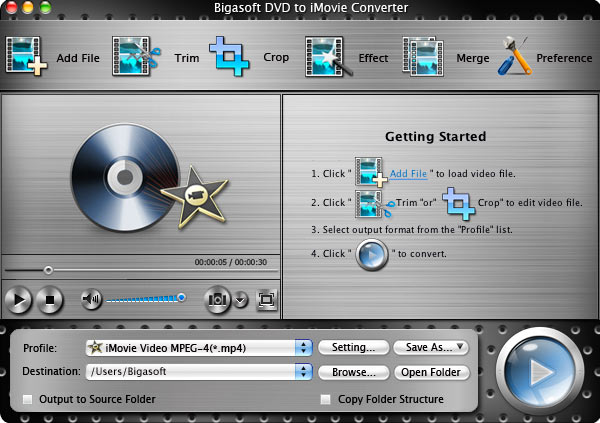
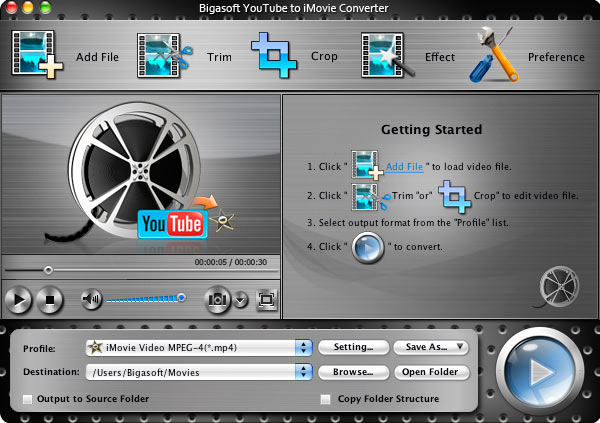
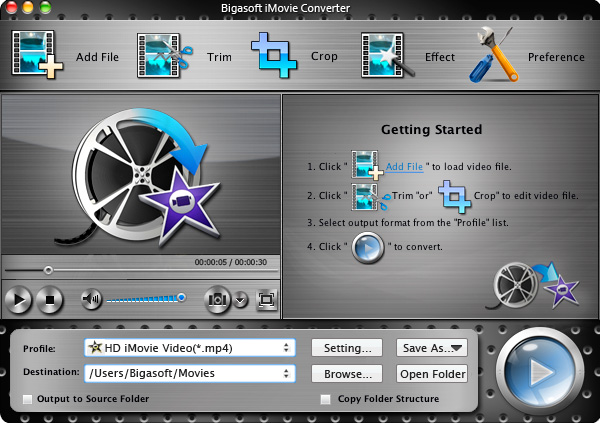
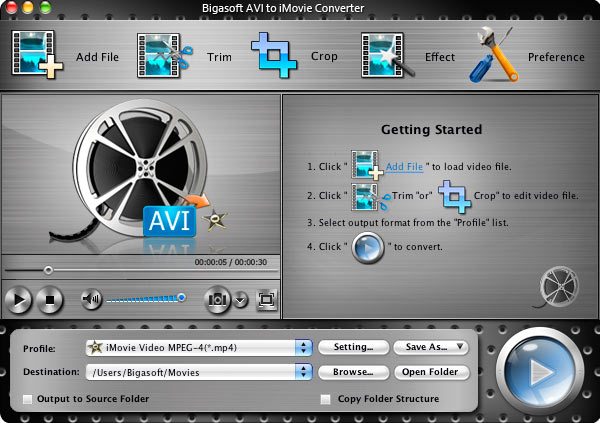
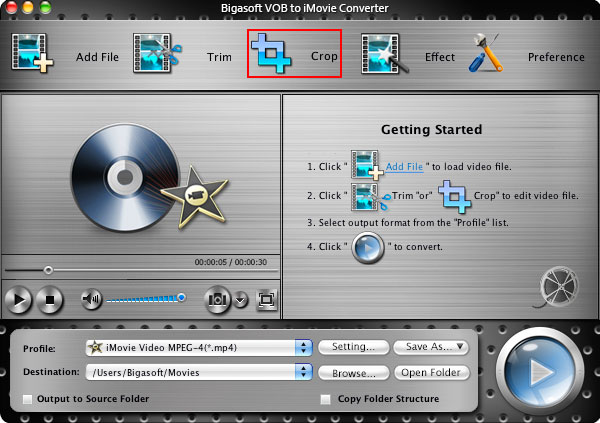
Click "Add File" button to add the already saved iMovie project file. Or you can also drag your iMovie file to the main interface of Bigasoft WMV Converter.
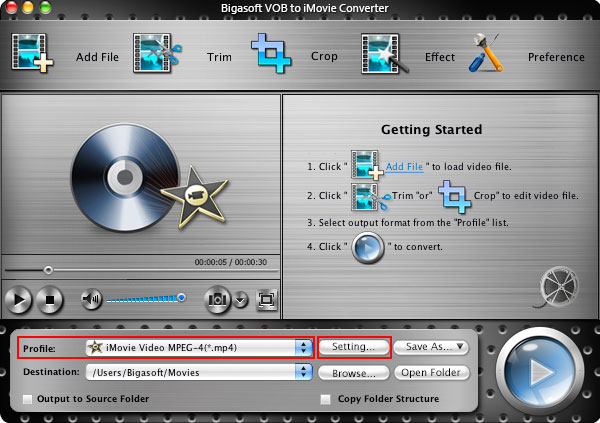
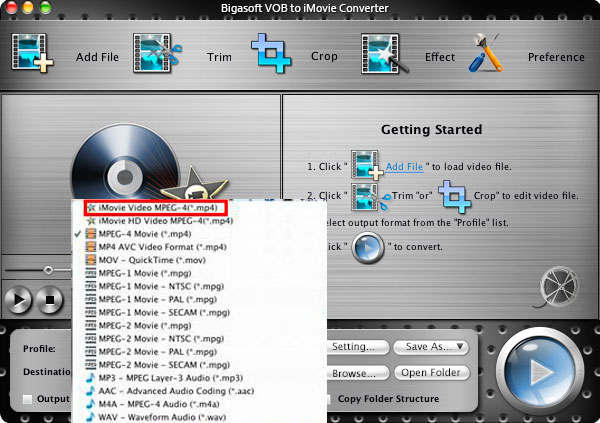
Step 2 Select WMV as output format
Click the small triangle to the right of "Profile", a drop down menu will pop up, then select Windows PC compatible WMV format like WMV - Windows Media Video(*.wmv) from "General Video" Category. (Tips: Usually the default format is in WMV format; if so, just ignore this step)Step 3 Convert iMovie to WMV
Click "Convert" button to finish converting iMovie to WMV format.Play iMovie on Windows Media Player
After finishing the iMovie to WMV conversion, just drag and drop the converted iMovie to Windows Media Player for playing! You can also import this iMovie file to Windows Movie Maker for reediting or playback this iMovie file on WMV friendly portable devices including Xbox 360, PS3, Zune, Zune 2, Archos, Creative Zen and etc.FREE Download and Start Enjoying Now (10.20MB)
Learn more about Bigasoft WMV Converter ...
Got a Mac? Free download your copy here (25.07MB)
Learn more about Bigasoft WMV Converter for Mac ...
Related Articles
Easy Way to Import 720p/1080i/1080p AVCHD to iMovieImport Camcorder Video to iMovie for iPad 2, iPhone 4S, iPhone 4, and iPod Touch


 Is it really impossible to edit videos captured from other camcorder with iMovie for iPad 2, iPhone 4 and iPod Touch? In fact, it is dead easy! Just convert those videos to iMovie for iOS compatible video format on Mac, then sync the converted video to iPhone 4, iPad 2, or iPod Touch for editing with iMovie for iOS.

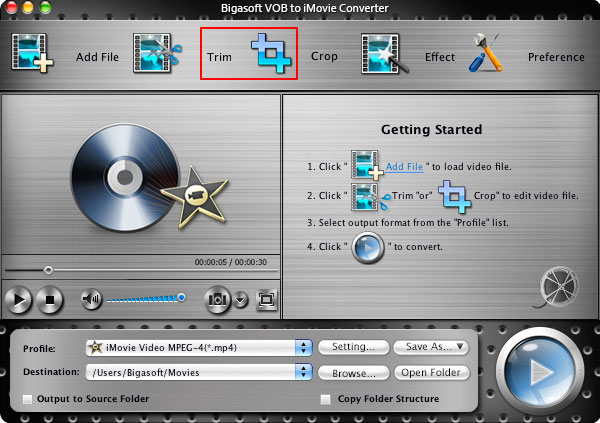
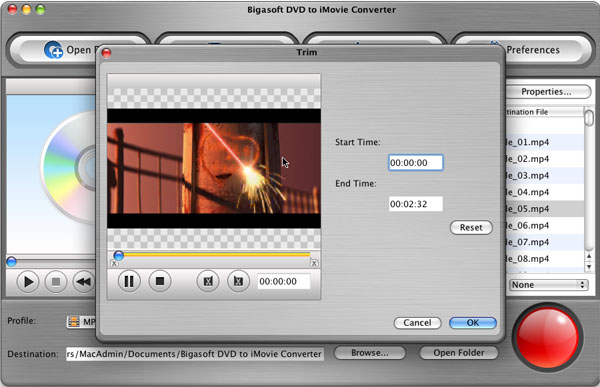
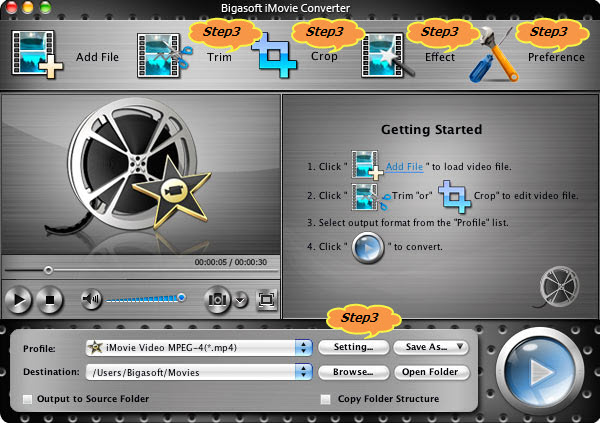 Click "Trim" button, you can achieve converting only your wanted clips by setting the start time and the end time.